How to Play Build a Bunker
Build a Bunker is a Roblox survival game by developer Piriyo where up to 14 players share a bunker while the surface world collapses under recurring nuclear blasts. Your goal is to expand underground rooms, loot the town above, fight Mutants and Raiders, and eventually win through extraction. This guide covers everything you need from your first spawn to a stable mid-game bunker.
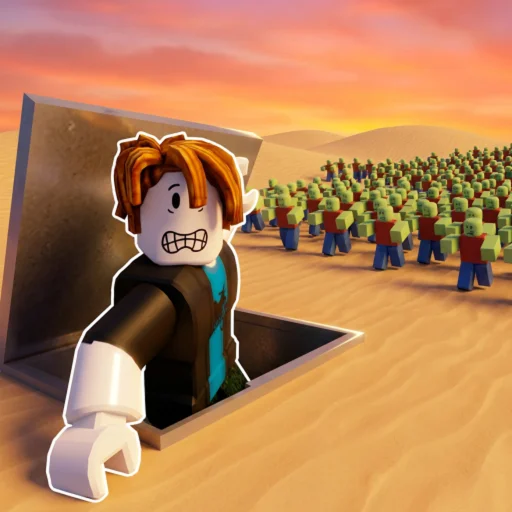
Core Gameplay Loop
Every session in Build a Bunker revolves around a simple but punishing rhythm: prepare inside your bunker, sprint into town for supplies, return before the next nuke, and invest loot into new rooms and upgrades. Nuclear explosions hit the map on a five-minute timer, so timing is not optional—it is the backbone of every decision you make.
Between nukes you will gather building materials, weapons, food, medicine, and scrap currency. Store valuables with F, equip gear with E, and interact with doors, vendors, and workstations using B. Sprint with Shift when crossing open ground, but remember that stamina ties directly into hunger—running on empty leaves you vulnerable when Mutants or Raiders appear.
Long-term progress comes from unlocking bunker rooms in order: Power Room, Sell Room, Recycle Room, Boiler Room, and Data Room. Each room unlocks new systems that convert raw loot into power, cash, crafted items, heat, and advanced tech. Skipping ahead without the right room order wastes resources; see the room priority guide for the optimal build path.
Controls and Inventory Basics
Movement uses standard WASD controls on PC. Shift sprints at the cost of stamina, which drains faster when you are hungry or injured. The F key stores items into your inventory or bunker storage, while E equips weapons, tools, and consumables to your hands. B is the universal interact key for opening doors, talking to NPCs, using shop counters, and activating room modules inside the bunker.
Inventory management is a skill on its own. Your starting bag is small, so prioritize high-value items on early loot runs—ammo, medicine, and building materials beat cosmetic junk every time. You can upgrade to a 16-slot bag for 500 Scraps, which pays for itself within a few successful surface trips. Check the controls page for a full keybind reference and platform-specific notes.
- WASD — move
- Shift — sprint (consumes stamina)
- F — store / pick up items
- E — equip held item
- B — interact with objects and NPCs
Your First Bunker Rooms
The Power Room is always your first major investment because every other system depends on electricity. Without power, sell terminals, recyclers, boilers, and data servers sit idle while your loot pile rots in storage. Build power generation before you fantasize about end-game gear.
The Sell Room turns scavenged goods into spendable currency at the bunker terminal, funding weapon purchases and room upgrades. The Recycle Room breaks down junk into crafting components, while the Boiler Room supports temperature and production chains that become critical during longer multiplayer sessions. The Data Room is a late-game accelerator—powerful, but useless if your foundation rooms are under-leveled.
Many new players die above ground because they over-build below. A workable rule: unlock Power and Sell first, make one successful loot loop, then expand. Bring food from Grub & Go or pharmacy stock before you push into mutant-heavy zones.
| Room | Priority | Primary Benefit |
|---|---|---|
| Power Room | 1 | Powers all bunker systems |
| Sell Room | 2 | Converts loot into currency |
| Recycle Room | 3 | Breaks junk into craft parts |
| Boiler Room | 4 | Heat and advanced production |
| Data Room | 5 | Late-game tech and buffs |
Surface Loot and Town Shops
The town above your bunker is both marketplace and war zone. Five major shops anchor your route planning: Jet's Firepower for weapons, the Pharmacy for healing, Nuke Mart for survival essentials, Grub & Go for food, and Rust & Recoil for ammo and gear. Learning shop locations cuts minutes off every run and keeps you inside when the nuke timer ticks down.
Weapons typically last around 150 uses before breaking, so carry a backup melee option and spare ammo whenever you leave the bunker. Mutants and Raiders patrol high-value areas; listen for gunfire from other players in 14-player servers—it signals both danger and opportunity. Dead players drop loot, but looting bodies during a nuke window is almost always suicide.
Use the loot route planner to sketch a path that hits two shops and a safe return tunnel before the five-minute mark. Pair that with the nuke timer tool until you internalize the countdown rhythm.
Nukes, Death, and Winning
Nuclear blasts occur every five minutes and kill anyone caught on the surface without proper shelter. Bunker interiors are safe, but only if you are physically inside before detonation. The siren and UI timer are reliable—treat the last thirty seconds as a hard deadline, not a suggestion.
When you die, teammates can revive you if they reach your body in time—see the revive guide for timing and positioning tips. Solo players should bank loot often so death stings less. Extraction is the ultimate win condition; the extraction guide explains how to trigger a successful escape once your bunker is raid-ready.
Build a Bunker rewards patience and coordination. Learn the loop, respect the nuke clock, and upgrade rooms in order. Within a few sessions you will outlive the first-wave players who treat the surface like a shopping mall without an exit.
Frequently Asked Questions
Who made Build a Bunker?
Build a Bunker is developed by Piriyo on Roblox. Updates frequently adjust loot, room costs, and event schedules, so check back after major patches.
How many players can join one server?
Servers support up to 14 players in multiplayer. More players mean faster boss kills and shared bunker labor, but also heavier competition for surface loot.
How often do nukes hit?
Nuclear explosions strike every five minutes. Plan loot runs to finish with at least thirty seconds of buffer time before returning underground.
What room should I build first?
Build the Power Room first, then the Sell Room. Power enables every other system; Sell converts scavenged items into currency for weapons and upgrades.
Where can I find active codes?
Redeem free rewards on the codes page. Codes often grant scrap, consumables, or temporary boosts—always redeem before a long session.